Building a Starlink Mini Case for a Trip With No Cell Service
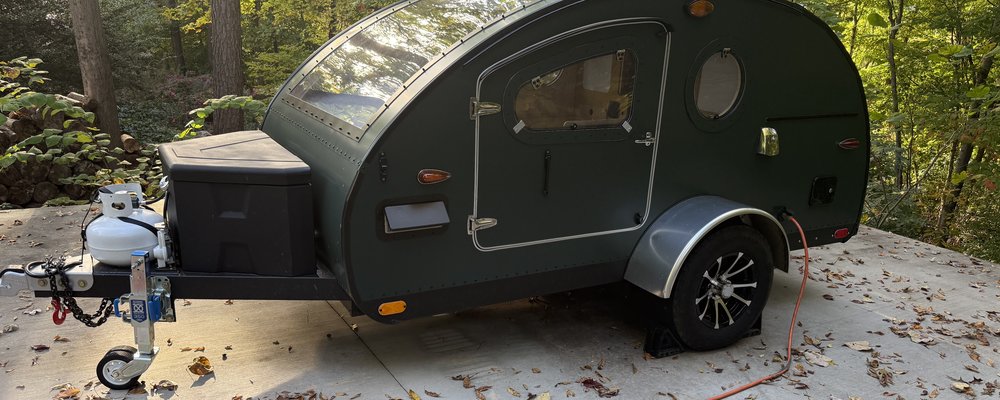
I'm going on a backpacking trip this weekend, somewhere with no cell service, and I still need a way to check in with the home front. So the Starlink Mini is coming with me. When I'm camping in the teardrop it just rides in the Jeep, and I pull it out and plug it into the Jackery or into the teardrop itself. On a backpacking trip I won't have either of those, so I built a rugged case that carries the Starlink and powers it at the same time. There are a lot of these out there already, but I wanted to build my own.
The Case
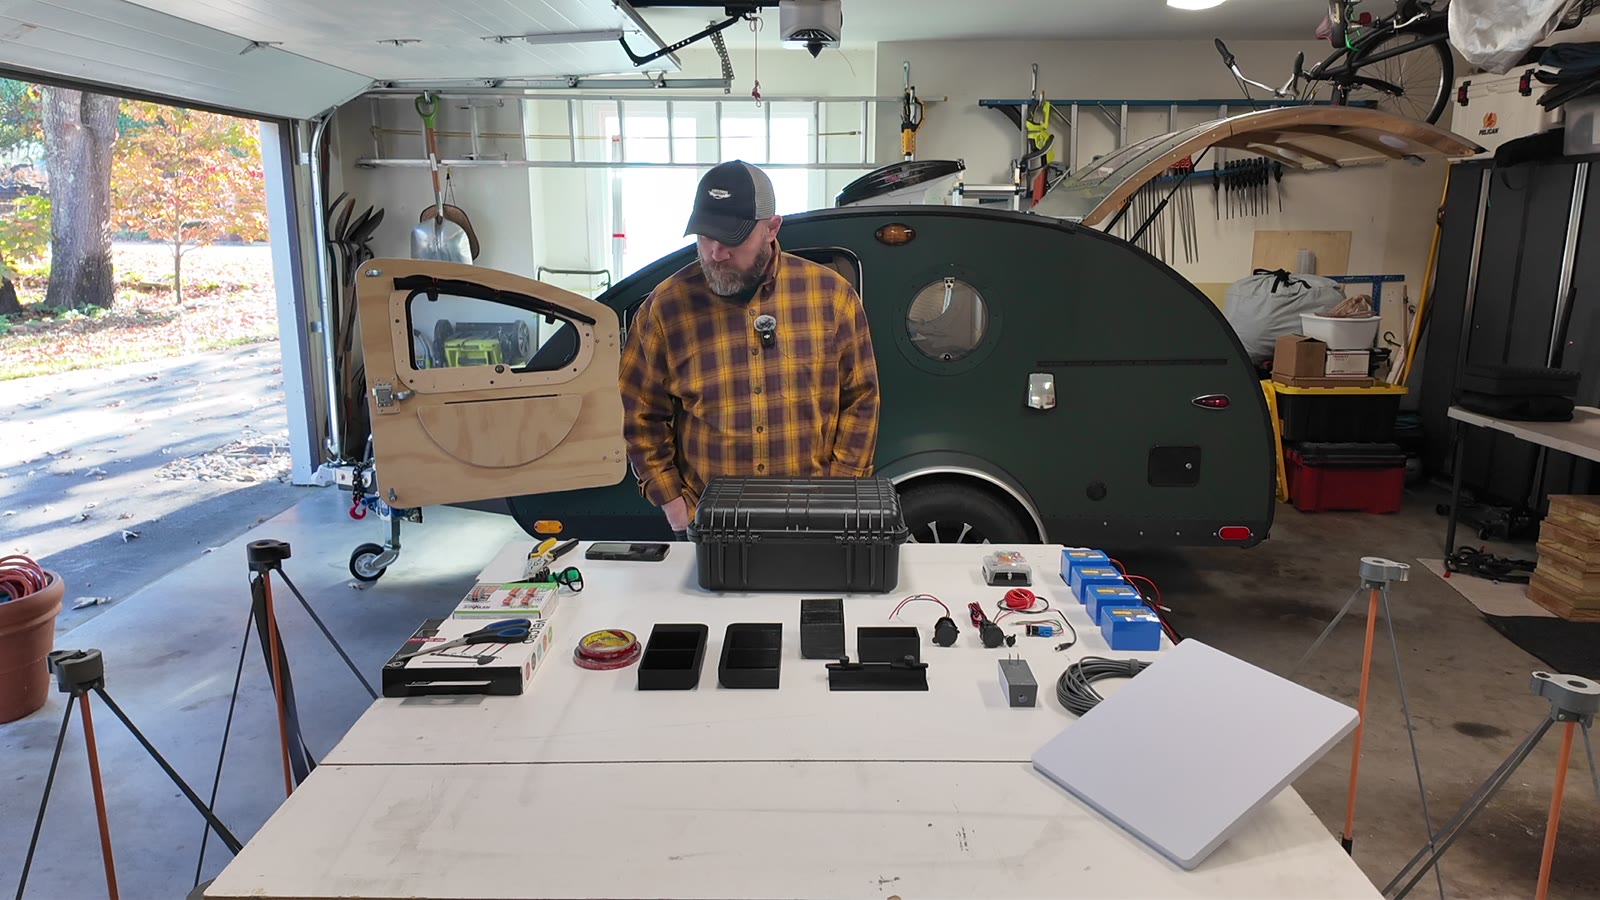
The case is the Apache 3800 from Harbor Freight. It's the smallest of the Apache cases that the Starlink Mini will fit in. If you have more you want to carry, like the pole mount or anything else, I'd get the 4800 instead. It's bigger and gives you room for more stuff, but I only need what it takes to run the Starlink, the batteries and the bits and bobs that go with them, and I'm not packing anything extra in it.
I pulled out all the foam it comes with so the case was empty and I had room to get everything shoved in there. Some of that foam came back later, which I'll get to.
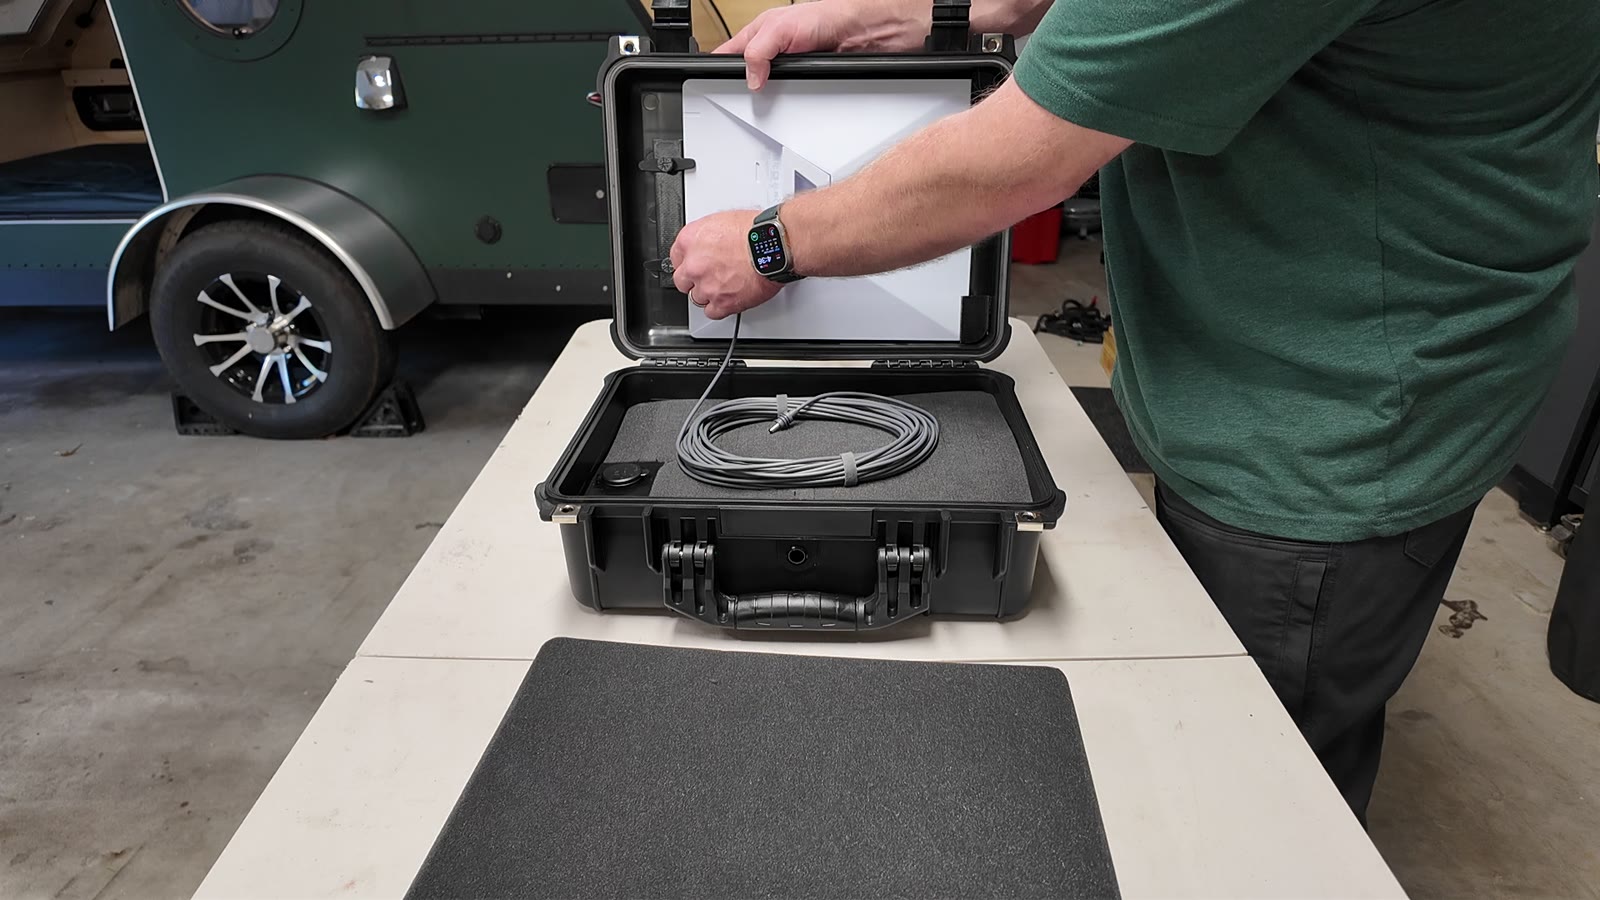
The Starlink Mini kit is the dish with the kickstand on it, the DC power cord, and the wall wart that the power cord plugs into. The kit also comes with a pole mount bracket, but I'm not using it since the dish lives in the lid of the case. I left the kickstand on, so if I want to pull the dish out at camp I still have something to prop it up on.
Batteries, and the 24 Volt Plan That Didn't Happen
To power it I have four 12 volt 10 amp hour batteries. The Starlink won't be running all the time, only when I need to check in back home, so my guess is these four will get me around 20 hours of normal use, which is plenty for a two or three day trip without recharging.
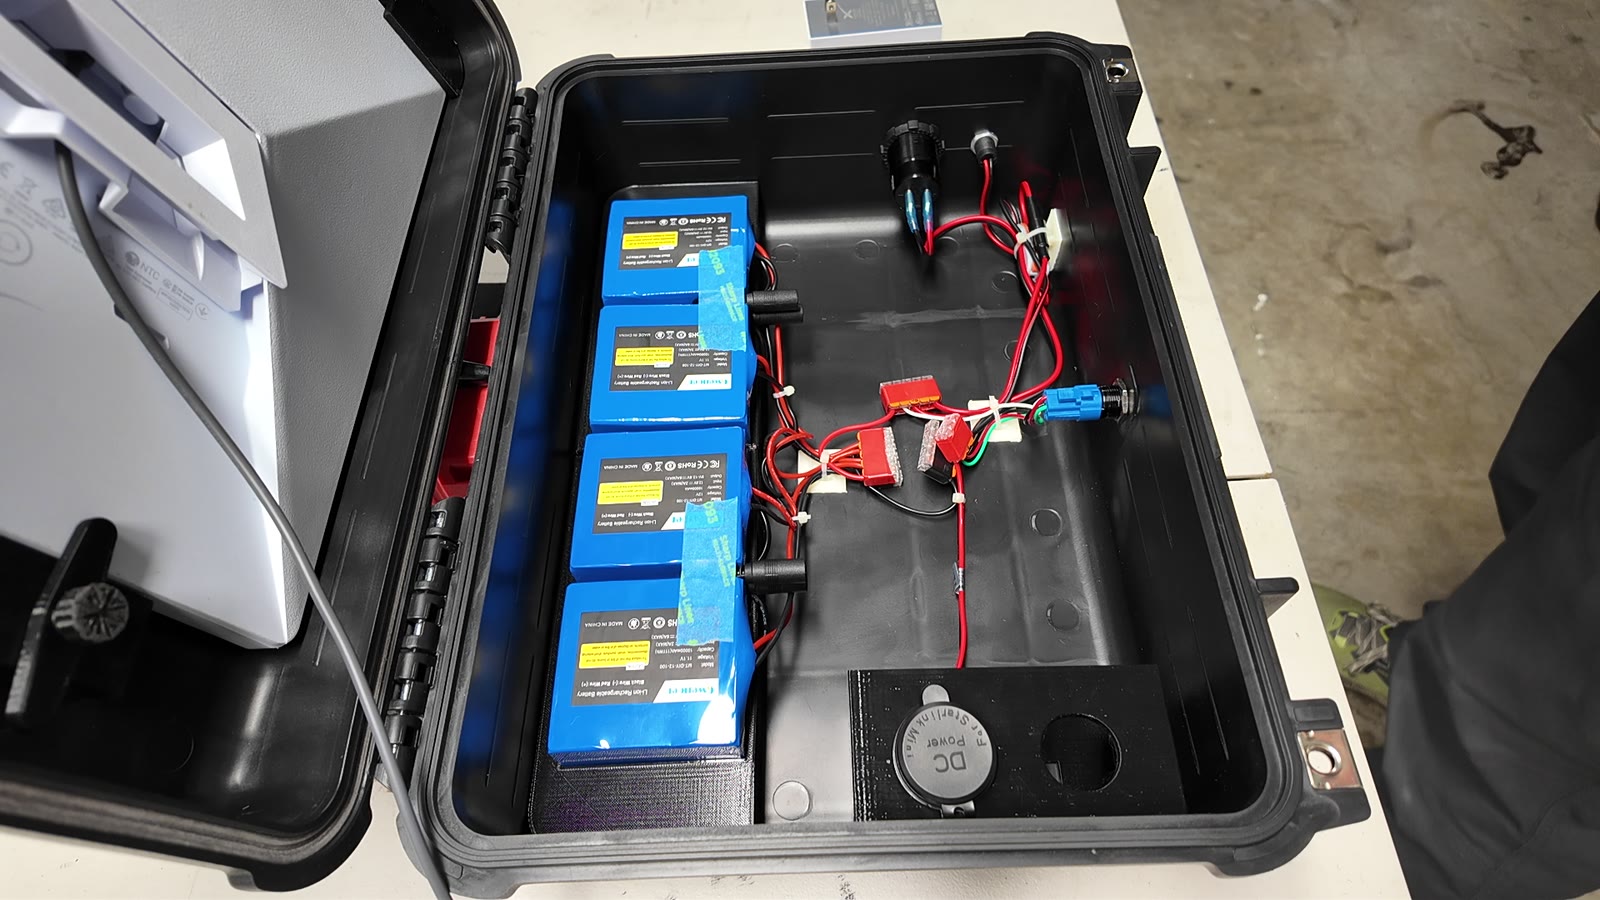
My original plan was to wire two batteries in series, two more in series, and then wire those two pairs together in parallel. That makes a 24 volt system with 20 amp hours, which is the same total power as four batteries in parallel at 12 volts, but the 24 volt feed is a lower draw, so the wiring makes less heat. Then I did a little research on these specific batteries. They have a built-in battery management system that will only run on 12 volts, so wiring them in series for 24 volts was out. That's fine. I went back to my first plan and wired all four in parallel, which gives me 40 amp hours at 12 volts.
For the bus I used WAGO 221 lever connectors. They're rated for 20 amps, which is more than this system draws. I wrapped them in electrical tape, red on the positive and black on the negative, so I can tell which is which at a glance, then zip tied all the wires together and stuck down some adhesive zip tie mounts so nothing is flopping around loose in the case. The WAGOs work as mini bus bars, the BMS in each battery protects that battery, and the voltmeter and USB panel and the DC charging port each have an inline fuse.
Getting Power In and Out
There are four things wired into those batteries besides the batteries themselves.
Push Button
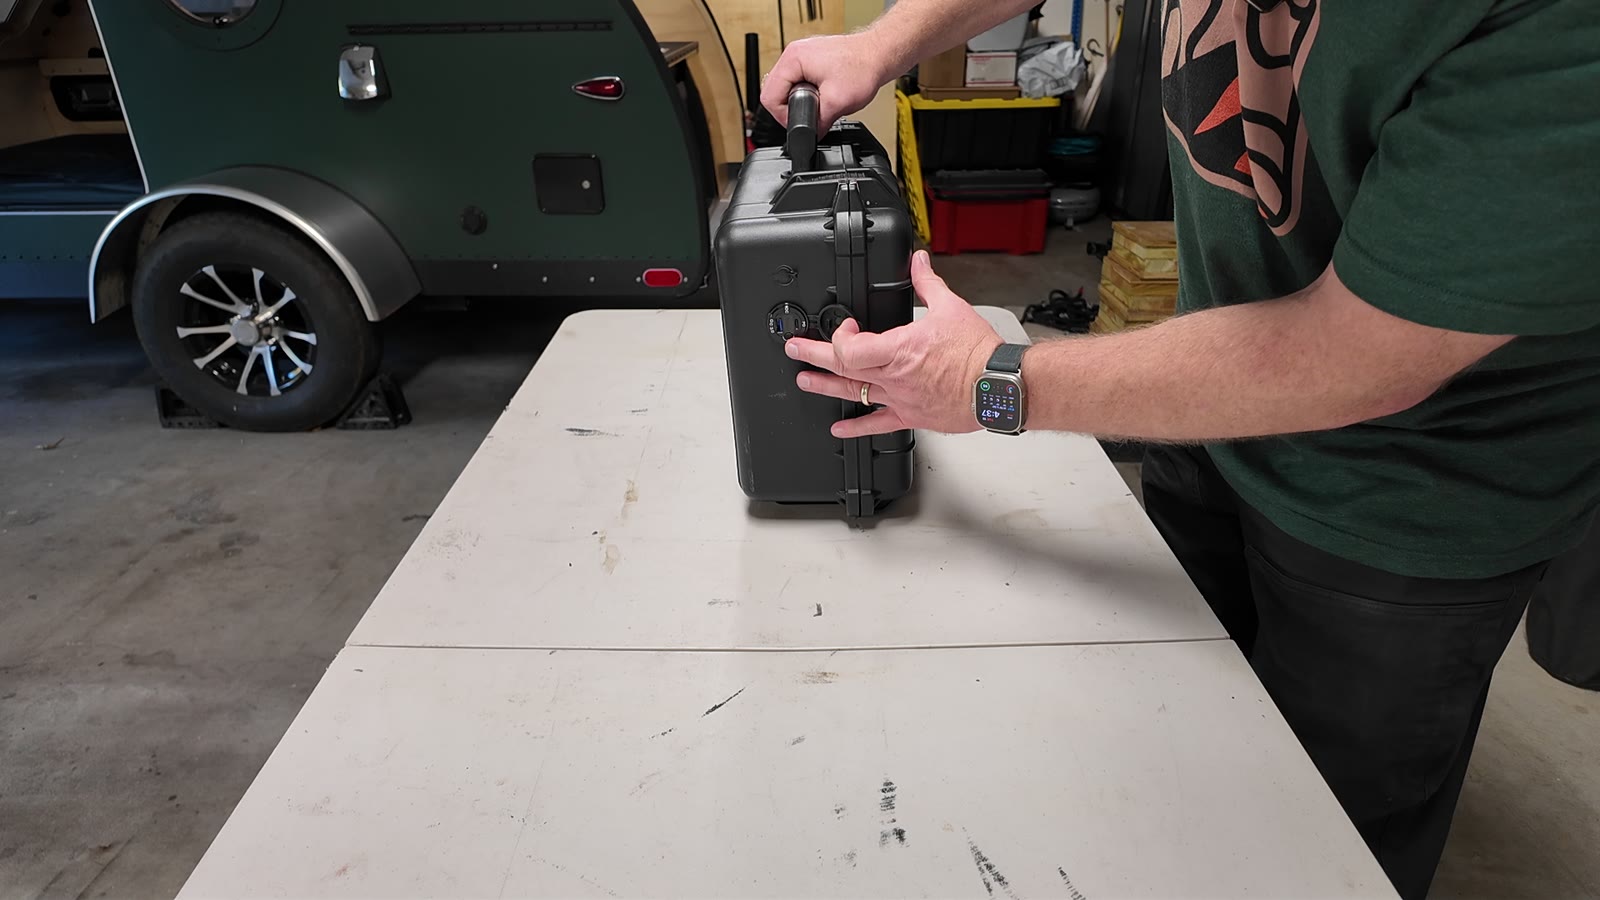
A latching push button, mounted through the front of the case, so I can turn the Starlink on and off without opening anything. Get one rated for your system voltage. Some come with four wires and some with five, and if there's a fifth you won't need it. The LED in the button is off when it's off and on when it's on.
Charging Port
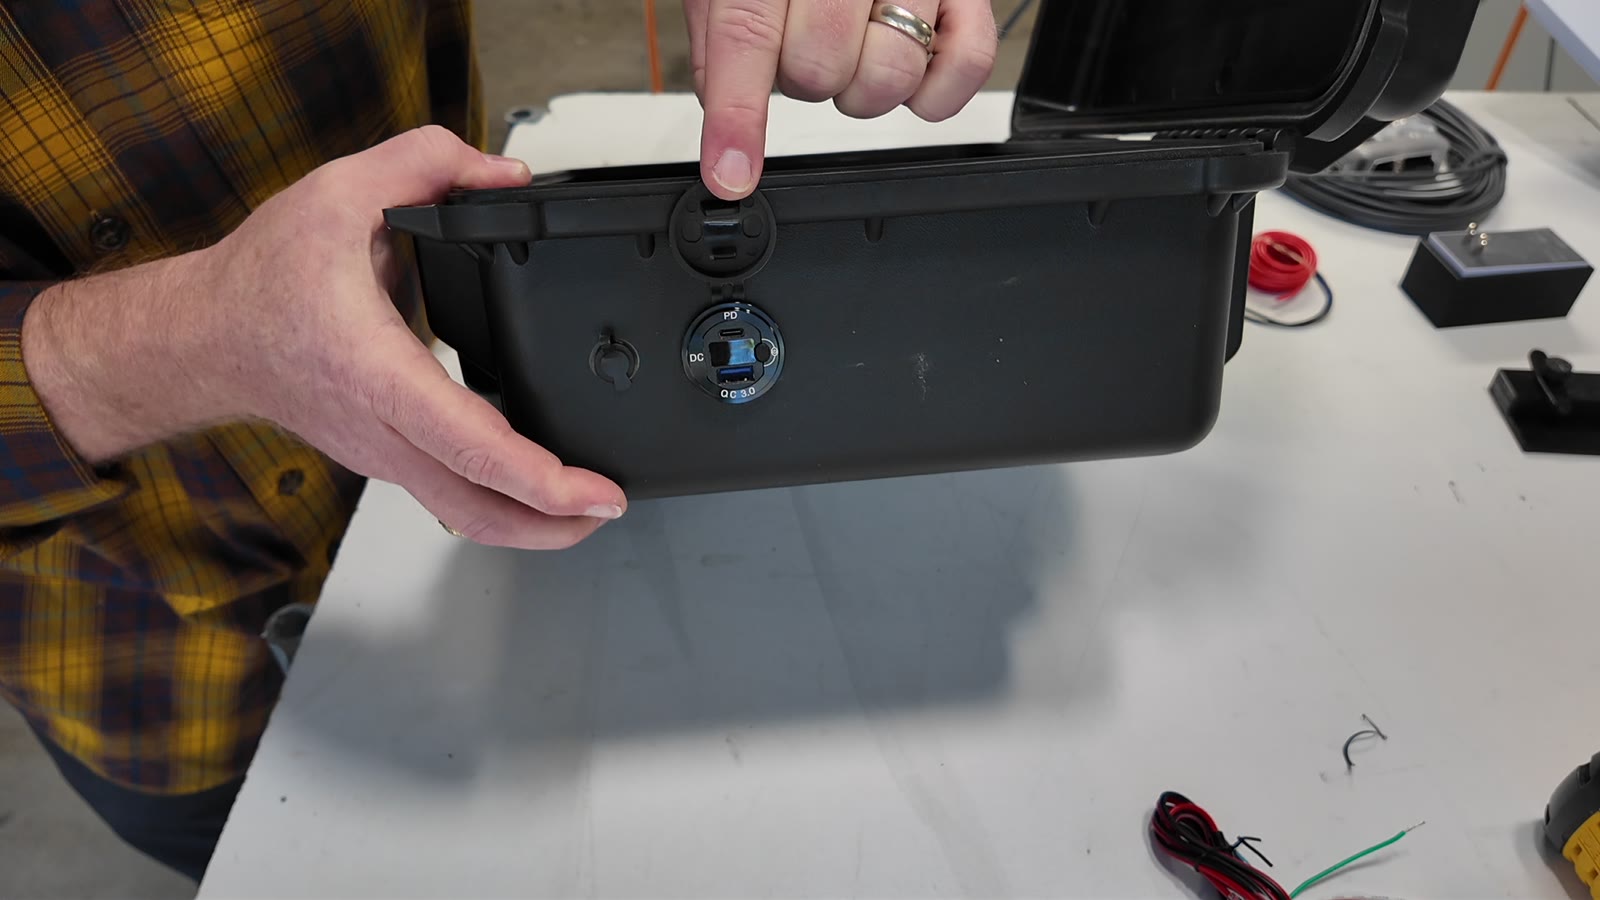
An external DC5521 charging port in the side of the case, so I can charge the batteries without opening it up. With four batteries on one charger it just charges slower, which is fine. I don't need a fast recharge on something I'm guessing will run around 20 hours.
Voltmeter and USB
A combo panel with a voltmeter, a regular USB port and a USB-C PD port, mounted on the side so I can read how much juice is left without opening the case and charge my phone if I need to.
Starlink Power Supply
A DC power supply made for the Starlink Mini. It takes 12 volt input and steps it up to the 30 volts Starlink's own power supply puts out, and it has a waterproof port that the Starlink's DC cord plugs straight into. It's about two to almost three inches long, so it's a little beefy, and it stays inside the case.
The USB-C PD port on the panel is rated 30 watts, and Starlink recommends a 100 watt USB-C PD supply to run the Mini on USB-C. I have a dongle that would let me try it, but I haven't tried running the Starlink from that port yet.
The button went in where the air bleed screw used to be. The Apache case has a little thumb screw on the front that lets you bleed off pressure when it won't open. I took the knob out, then heated the brass insert it threads into with a soldering iron until the plastic let go and pushed it out. It doesn't take much heat. I kept the brass insert, because like every piece of scrap wood I own, it goes in a box somewhere in case I need it later. Typical dad thing.
The 3D Printed Parts
Some of the parts I found online and some I had to design myself. They're all printed in black PETG on my Ender 3 V3 Plus, in two sessions: the lid parts that hold the dish took 6 hours, and the bottom parts that hold the batteries, the wall plug and the DC port took 14. PLA is probably going to be too flexy in the heat, PETG is better, and if you have ABS that would be even better. You want something heat resistant that won't get flexy, because this is a black case and the inside of it will probably get hot.
Dish Holder
Goes in the lid. The Starlink tucks under lips in the top corners, and on the bottom edge twist latches flip over the edge of the dish and M4 thumb screws hold them down. The M4 bolts thread into brass heat-set inserts that I pressed in with a soldering iron. This print fits the bare Starlink, so if yours lives in a rubber case, give the print some extra room.
Battery Trays
Two pieces, because the case is wider than my printer will print (about 12 by 12). They're curved to follow the bottom of the case so they lock in tight, and each one has pockets that the batteries press fit into.
DC Port Holder
A dual-hole holder shaped to the curve of the case wall, with the Starlink power supply's port mounted in one hole. The second hole is there in case I want to mount something else later. It sits low enough that the lid still closes with the DC cord plugged in.
Sticking It All In
I didn't want to drill any extra holes in the case to bolt things down, so everything inside is held in with 3M VHB tape. I love that stuff. I use it on the teardrop for all kinds of things, it holds tight, and the longer it sticks the stronger the bond gets. You don't need to cover every flat surface with it. I ran two strips across the bottom of each battery tray and up the rounded edge where it meets the side of the case, and one across the back, plus a piece between the two trays so they stay together as one. Peel the red backing, put it where you want it, and press it in. Be right with it, because it won't reposition. The texture of a 3D print helps it grab, just make sure the part is clean first.
The batteries press fit into their pockets pretty tight, but I also put industrial Velcro from Home Depot on the bottom of each battery and in each pocket, in case they ever start to vibrate out. It's a security blanket more than anything. Helps you sleep at night knowing your batteries aren't walking off.
My garage was somewhere around 40 or 50 degrees when I did this, so once the last parts were stuck in I brought the whole case inside the house where it's warmer, so the VHB could set up for a couple of days before I leave Friday.
Drilling the Case
The only holes I drilled through the case wall are for the charging port and the voltmeter and USB panel, since the push button went in the old air bleed hole. I used a step bit for the bigger hole and a regular drill bit for the other, and worked up to the right size. If you make a hole too big you can't make it smaller, so go easy. Each one has a nut on the back that clamps it to the case wall. I may add a dab of sealant on the back side of each one. I don't plan on submerging this thing. It just needs to survive a light rain.
First Test
I set the closed case out in a mostly clear spot in my driveway with the dish still in the lid, and it did not do well. Between the lid of the case and the trees hanging over my driveway, it had a hard time seeing the satellites. So I popped the dish out of the case, set it up on its kickstand, and pointed it at a clear patch of sky, and it did well. It connected and got about 80 megs down and 30 up. I'm never in a perfect spot to know, but I think that's about normal for these. At camp I'm going to try running it in the case, still attached to the lid, and if that doesn't work I'll pop it out and set it up on its kickstand.
Packed Up
For the last bit I cut the foam that came with the case to fill in around everything. The Starlink wall wart sits in a slot in the foam at the bottom instead of the 3D printed holder I'd made for it, the DC cable lays on top, and one more piece of foam goes over the wiring so the cord isn't banging around on the dish. Latch it shut and the voltmeter on the side reads 12.2 volts right now, so it's going on the charger before I hit the trail.
We'll see how it does over the weekend.
Photos
Shop This Post
These are the parts from the build that came from Amazon. The case itself is the Apache 3800 from Harbor Freight.
Disclosure: KnoxDrops is a participant in the Amazon Services LLC Associates Program. As an Amazon Associate we earn from qualifying purchases — if you buy through a link on this page, it costs you nothing extra.
← Back to Blog